Late in October 2024 I started baking.
It was mostly crackers to start, but as those became more successful I realized that I could try more complex things.
By the time early November rolled around I was spending hours out on Pinterest reading various recipes for breads, bagels, breakfast bars, and deserts. In fact, as I stood in line to vote on November 5th I used my entire THREE HOUR WAIT to read bread recipes.
So, after extensive research, I decided to try a very simple 4 ingredient recipe. I figured I could give it a whirl.
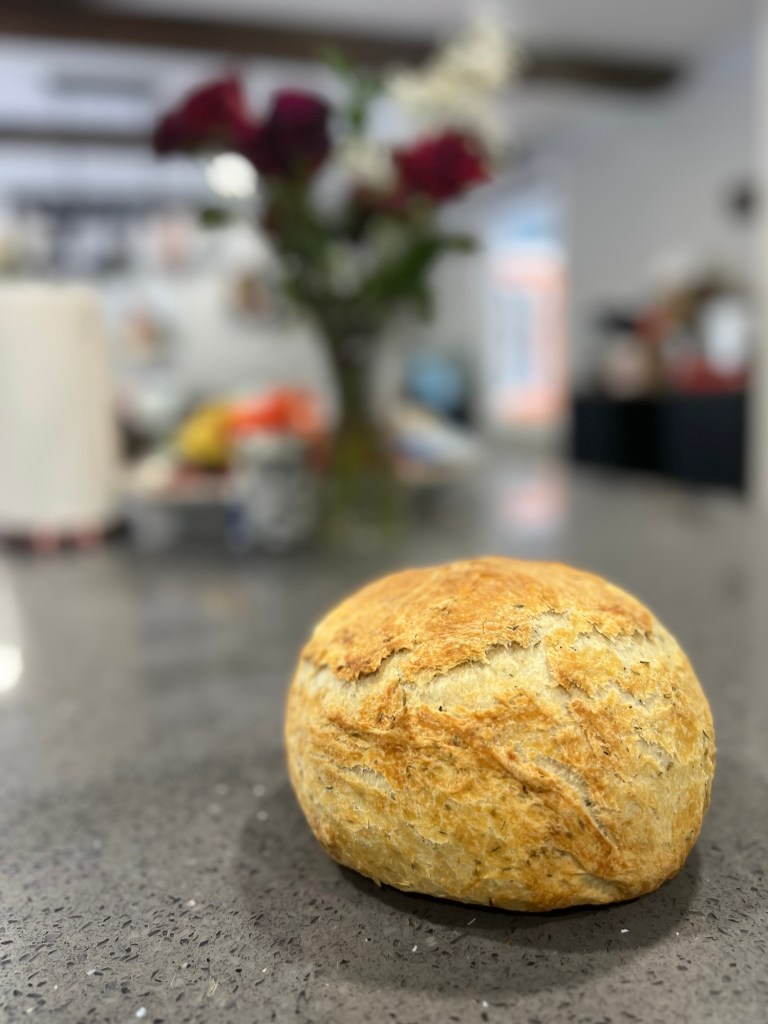
To my surprise, not only was I able to successfully bake, it actually tasted good! And a variation of that loaf has become a staple in our house.
If you’ve been interested in baking bread, give this one a try. It makes great toast or is perfect to pair with soup!
Here’s what you’ll need:
- Mixing bowl or KitchenAid stand mixer
- Wooden spoon (if mixing in a bowl)
- Bowl to let the bread rise in
- A dish cloth
- A one-cup measuring cup
- A teaspoon measuring spoon
- A tablespoon measuring spoon
Gather your utensils and then grab your ingredients:
- 2 teaspoons Fast Rising Yeast
- 3 cups Bread Flour
- 1 teaspoon Salt
- 1-2 tablespoons Dried rosemary
- 1-2 tablespoons Dried thyme
- 1.5 cups Warm water (105-115 degrees Fahrenheit)
For your rosemary and thyme, I’d recommend starting with one tablespoon on your first loaf to see if you enjoy the flavor. You can always make it stronger as you try the bread again next time.
Once you have your ingredients and utensils, mix the dry ingredients together thoroughly. Make a well in the dry ingredients and pour your warm water in.
Combine the water with the dry ingredients. If using a stand mixer, mix on a low setting for 2-4 minutes. If mixing with a spoon or by hand, work the ingredients until fully combined. The dough will be sticky, so wet your hands for easy handling!
Once your dough is ready, oil a clean bowl and transfer the dough to the oiled bowl. Flip your dough a couple times to ensure it is covered in the oil. This allows you to get a clean pull of all your dough once you are ready to transfer to the baking dish. Thanks to my mom for this little nugget of wisdom!!
Cover your dough with a wet cloth (use warm water) and place in a warm spot. Allow to rise for 3 hours.
After 3 hours, place a cold Dutch oven into your oven and preheat to 450 degrees Fahrenheit (233 degrees Celsius).
As the oven and Dutch oven heat up, take your dough and punch it down. On a well floured surface, form a ball with your dough, folding it in on itself. Do not overwork the dough – it should only be a few folds. Transfer your dough ball to a sheet of parchment paper.
When the oven is preheated, remove the lid to your Dutch oven (obviously use an oven mitt for this!!!) and place your bread inside. Cover with the lid and bake for 30 minutes.
After the 30 minutes is up, remove the lid (again, I know you know this, but still going to say it: use an oven mitt to take off the lid). Bake another 15 minutes so the crust can harden.
When done baking, remove the bread and parchment paper from your Dutch oven. Allow the bread to fully cool before serving.
To store your bread, use an airtight container or plastic bag. It will be counter stable for about a week, although it may not last that long! Remember that homemade bread doesn’t have all the preservatives that store bought ones do, so it will not last as long. Nor should it, really.
I hope you enjoy this! Please leave a comment with your results & happy baking!!

Leave a comment